Master Hand Lettering with the Bamlie Brush
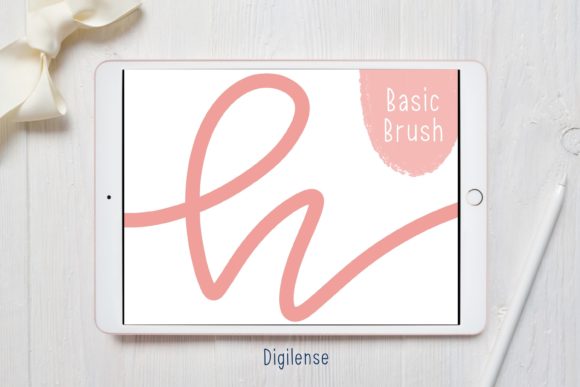
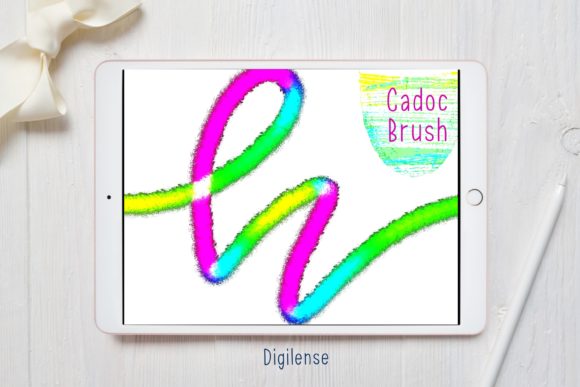
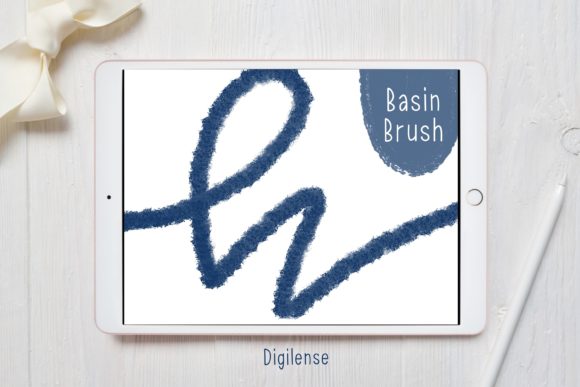
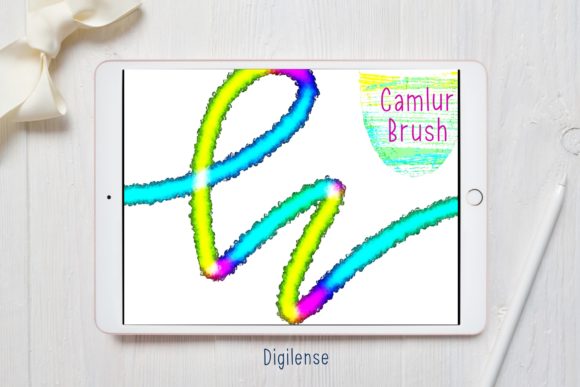
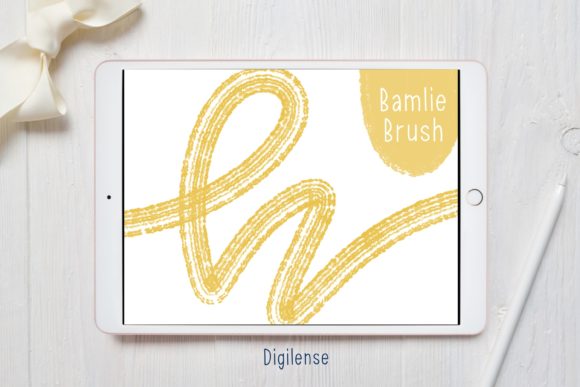
Digital lettering can feel intimidating when you are staring at a blank canvas, unsure if your strokes will look fluid or forced. The Procreate Lettering Brush - Bamlie aims to bridge that gap between traditional ink flow and digital precision. This tool is not just another file in your library; it is a specialized instrument designed to mimic the pressure sensitivity and texture of real-world calligraphy tools while leveraging the undo button and layer capabilities of the iPad. Whether you are sketching a quick logo concept or illustrating a full-page wedding invitation, the quality of your brush dictates the ceiling of your artistic expression.
When you purchase this resource, you are receiving a comprehensive package tailored for immediate use. The delivery comes as a ZIP file containing the actual lettering Procreate brush alongside a detailed PDF file titled "How to install procreate brush on ipad." This dual-format approach ensures that even those who are less tech-savvy have a clear roadmap to getting started. The inclusion of instructions acknowledges that the barrier to entry for many creatives is often not talent, but simply knowing how to configure their digital workspace.
Why Different Creators Choose Bamlie
The value of a specific brush set varies wildly depending on who is holding the Apple Pencil. For a professional graphic designer, the priority is often reliability and commercial viability. They need a brush that produces consistent vector-like results which can be scaled for large format printing without losing edge definition. The Bamlie brush offers a textured stroke that adds organic warmth to digital designs, a quality that clients often pay a premium for because it avoids the sterile look of standard system fonts.
Conversely, a beginner hobbyist might prioritize ease of use and learning value. When starting out, fighting against a brush that requires perfect pressure control can be discouraging. A well-engineered brush like Bamlie often includes stabilization features that smooth out shaky hands, allowing new users to focus on the shape of the letters rather than the mechanics of the stroke. For educators and workshop leaders, this consistency is vital when teaching classes, as it ensures that student outcomes reflect their effort rather than technical limitations.
Small business owners and entrepreneurs often view digital tools through the lens of speed and versatility. If you are running an Etsy shop selling custom mugs or t-shirts, you cannot afford to spend hours refining a single word mark. A brush that delivers a polished, hand-lettered look in fewer passes allows for faster turnaround times on custom orders. Meanwhile, social media influencers and bloggers might care most about aesthetic uniqueness. In a feed saturated with identical templates, using a distinct brush style helps establish a recognizable personal brand identity.
Getting Your Tools Ready
Before you can start creating, you must properly integrate the tool into your workflow. The process is straightforward but requires attention to detail to avoid common file management errors. Since the download arrives compressed, your first step involves extraction. You will need to use a free app like FileExplorer File Manager or iZip to unzip the file on your iPad. Once uncompressed, locate the brush file within the folder.
There are two primary methods to get this running in your app. The most direct route is to choose "Open in Procreate" directly from your file manager. However, technology does not always cooperate immediately. If this option does not appear, do not panic. Simply open a new canvas in Procreate and tap the paintbrush icon to open the Brushes panel. At the very top of the brush list, you will see a button with a plus sign or an import label. Tap this button, navigate to the folder containing your downloaded Procreate brush, select the file, and it will instantly load into your library. Having the included PDF guide handy during this process can be reassuring if you encounter any hiccups.
Practical Applications Across Industries
Understanding how to apply this tool requires looking at specific scenarios. Consider a freelance illustrator working on a children's book. They might use the Bamlie brush for chapter headings to give the text a storybook feel that matches their hand-drawn characters. The texture of the brush allows the text to sit naturally alongside illustrations without looking like it was typed on a computer.
In the corporate world, a marketing specialist might use the same brush to create eye-catching headers for presentation decks or social media graphics. The goal here is to humanize the brand message. A handwritten style suggests personal touch and authenticity, which can increase engagement rates compared to rigid sans-serif typography. For publishers, digital lettering brushes are increasingly used in cover design mockups, allowing art directors to visualize title treatments quickly before committing to a custom font license.
Even for consumers who simply enjoy journaling or planning, the impact is significant. Digital planners have become a massive industry, and users often want to annotate their schedules with flair. A high-quality lettering brush transforms a mundane to-do list into a piece of art, encouraging consistency in habit tracking and personal organization.
Evaluating Fit for Your Goals
Deciding whether the Procreate Lettering Brush - Bamlie is right for you comes down to aligning the tool's strengths with your current objectives. If your primary goal is speed, test how many strokes it takes to achieve a solid line weight. If you value creativity, experiment with the opacity settings to see if you can create watercolor-like overlays. For those focused on long-term usefulness, consider whether the style is trendy or timeless. Classic calligraphy styles tend to remain relevant longer than highly stylized, fad-driven scripts.
It is also important to assess the learning curve. While the brush is designed to be user-friendly, mastering digital lettering still requires practice. Beginners should look for resources that explain not just how to install the brush, but how to adjust streamline settings and pressure curves to match their specific grip and drawing style. Professionals should evaluate the brush's performance under high-resolution conditions to ensure it holds up for print production.
Ultimately, the best tool is the one that disappears into your workflow, allowing your ideas to flow without friction. Whether you are designing a logo, teaching a class, or decorating a digital planner, the right brush empowers you to execute your vision with confidence. By understanding the installation process and recognizing how different features serve different needs, you can maximize the potential of your digital art studio.