Mastering Grungy Brush Strokes and Watercolor Brush Textures for Professional Design
Adding texture to digital designs is often the difference between a flat, generic look and a piece that feels alive and tactile. When you incorporate Grungy Brush Strokes or a Watercolor Brush effect into your work, you instantly introduce depth, emotion, and an organic quality that vector shapes alone cannot achieve. However, many designers, from hobbyists to seasoned professionals, stumble when selecting and applying these assets. The issue rarely lies in the artistic vision but rather in the technical execution and file management. Understanding the nuances of file formats and application contexts is crucial for avoiding wasted time and subpar results.
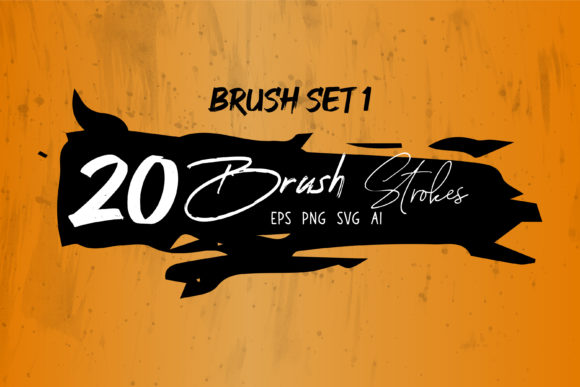
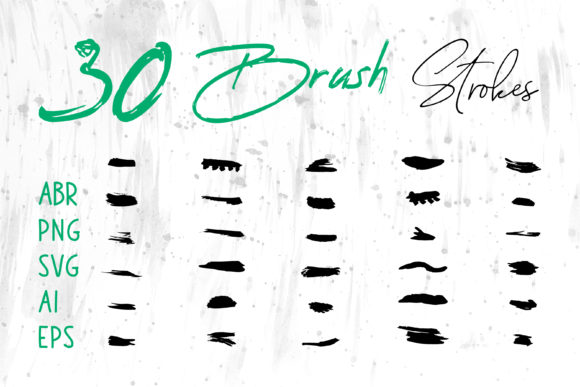
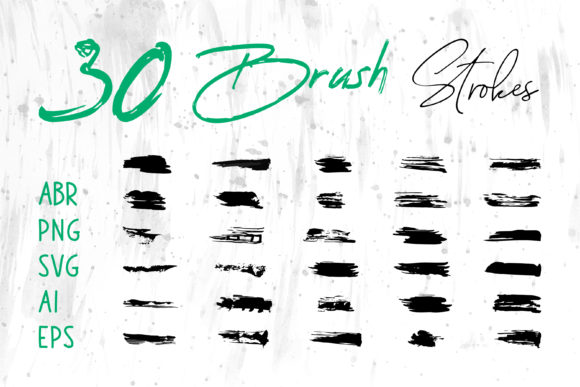
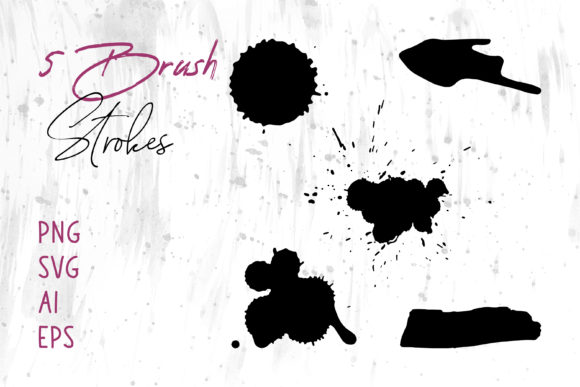
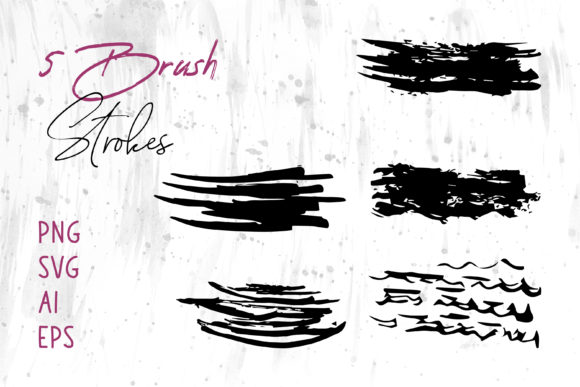
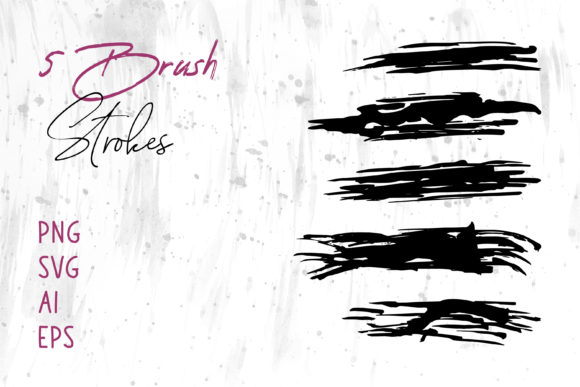
One of the most common misunderstandings involves the versatility of file formats. A frequent mistake is purchasing or downloading a brush pack that only includes raster images (like JPEGs) when the project requires scalability. If you plan to use these graphics for large-format printing, such as a banner or packaging, low-resolution raster files will pixelate and look unprofessional when enlarged. This is why having access to multiple formats is non-negotiable. A comprehensive collection should include Brush Strokes.ai files alongside PNGs and SVGs. The AI format ensures that your strokes remain crisp at any size within Adobe Illustrator, while PNGs with transparent backgrounds are essential for quick layering in Photoshop or even office software like MS Word and PowerPoint.
Avoiding the Resolution Trap in Print and Digital Media
Many creators overlook the specific resolution requirements for different mediums. For instance, using a screen-optimized PNG for a T-Shirt print can result in a blurry, amateurish finish. Conversely, using a massive 300 DPI TIFF file for a Social Media Banner can unnecessarily bloat your website's loading speed, hurting user experience and SEO. The solution is to evaluate the intended output before selecting the file. If you are designing a Book Cover or physical Craft Projects, prioritize the vector-based AI or EPS files. These allow you to adjust the stroke weight and color without losing fidelity. For digital-only applications like a Website header or digital scrapbook, high-quality PNGs are often sufficient and easier to manage.
Another pitfall is ignoring the blend modes available in design software. Beginners often place a watercolor stroke on top of a background and leave it at "Normal," which can make the element look pasted on rather than integrated. To achieve a realistic look, experiment with blend modes like "Multiply" for darker strokes or "Screen" for lighter washes. This simple adjustment allows the texture of the underlying paper or fabric to show through, creating a cohesive composition. Whether you are working on a Logo or a complex illustration, taking the extra step to adjust opacity and blending can elevate the perceived quality of the final product significantly.
Maximizing Compatibility Across Software Platforms
It is easy to assume that design assets only work within the Adobe ecosystem, but this limits your workflow unnecessarily. A robust set of Grungy Brush Strokes should be usable across various platforms. For example, entrepreneurs creating pitch decks in MS PowerPoint or internal documents in MS Word can greatly enhance their visual communication by inserting high-resolution PNG brush strokes. The mistake here is trying to import incompatible file types, which leads to errors or broken links. Always check that your asset pack includes universal formats. SVGs are particularly powerful here, as they can be scaled infinitely in modern web browsers and office suites without quality loss, making them ideal for responsive Website elements and dynamic presentations.
Furthermore, organization is key to efficiency. A common frustration among freelancers and small business owners is the time lost searching for the right brush stroke during a deadline. When you download a package containing Brush Strokes.ai, EPS, SVG, and PNG files, take the time immediately to sort them into clearly labeled folders. Separate them by style (e.g., "Grunge," "Watercolor," "Dry Brush") or by format. This proactive step prevents the chaos of digging through hundreds of unsorted files later. It also ensures that you always grab the correct version for the task at hand, whether it is a quick social media graphic or a detailed packaging mockup.
Choosing the Right Style for Your Brand Identity
Not all brush strokes convey the same message. A heavy, ink-splattered grunge stroke might be perfect for a music festival poster or a streetwear T-Shirt, but it could undermine the trustworthiness of a financial consulting Logo. On the other hand, soft Watercolor Brush textures evoke creativity, gentleness, and approachability, making them suitable for Digital Scrapbooks, wedding invitations, or wellness brand Packaging. The error lies in choosing a texture based solely on aesthetic preference without considering brand alignment. Before applying a stroke, ask yourself what emotion it triggers. Does it match the tone of your Book Cover or the vibe of your Social Media Banner? Aligning the texture with the brand voice ensures consistent and effective communication.
Color customization is another area where users often miss opportunities. Many assume they must use the brush strokes in their default black or pre-set colors. However, vector files like AI and EPS allow you to recolor strokes instantly to match your brand palette. Even with PNGs, you can use clipping masks in Photoshop to fill the stroke shape with gradients or patterns. Failing to customize these elements means missing a chance to create a unique identity. Instead of using the stock black stroke, try overlaying a gradient that matches your company's primary colors to create a custom Banner that stands out from competitors using the same assets.
Practical Steps for Evaluation and Implementation
Before committing to a specific asset pack for your Craft Projects or commercial designs, verify the license terms. Some free resources restrict commercial use, which can lead to legal issues if you use them for client work or products like T-Shirts intended for sale. Ensure the package explicitly allows for commercial application. Additionally, preview the edges of the brush strokes. High-quality assets should have smooth, anti-aliased edges in PNG format, not jagged pixels. In vector formats, check that the paths are clean and not composed of thousands of unnecessary anchor points, which can slow down your software.
Ultimately, the goal is to enhance your workflow, not complicate it. By selecting a versatile collection that includes Brush Strokes.ai, SVG, EPS, and PNG formats, you equip yourself to handle any design challenge. Whether you are an educator creating engaging classroom materials, a marketer designing ad creatives, or a hobbyist making greeting cards, the right tools make the process smoother. Avoid the trap of single-format limitations and embrace the flexibility of multi-format packs. This approach saves time, ensures professional quality across all mediums, and allows your creative ideas to shine without technical constraints holding you back.
Remember, the best designs often come from the thoughtful combination of digital precision and organic imperfection. By understanding how to properly select, organize, and apply Grungy Brush Strokes and Watercolor Brush elements, you add a layer of sophistication to your work that resonates with audiences. Take the time to learn the capabilities of each file type, respect the context of your project, and always aim for clarity and quality in your final output.