Unlocking Creative Potential: A Practical Guide to Watercolor and Ink Brush Sets
Digital art has democratized creativity, allowing anyone with a tablet or even a mouse to produce stunning visuals. At the heart of this revolution are digital assets like the Watercolor Brush Set and Ink Brush Set. These tools mimic the organic flow of traditional media while offering the flexibility of modern technology. However, simply downloading a pack of brushes does not guarantee masterpiece results. Many creators, from hobbyists to seasoned professionals, often stumble over technical misunderstandings that limit the potential of these assets. By understanding what you are actually getting and how to apply it correctly across different software ecosystems, you can avoid frustration and elevate your design work significantly.
Understanding the Versatility of Multi-Format Brush Assets
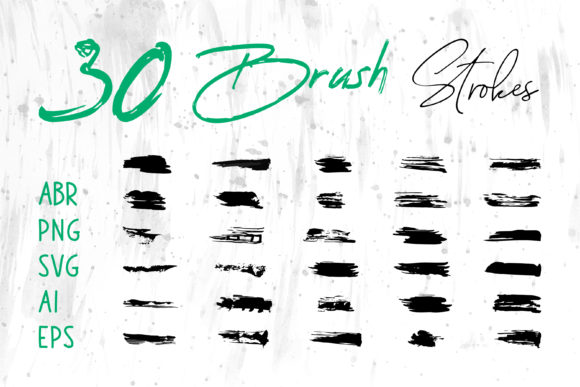
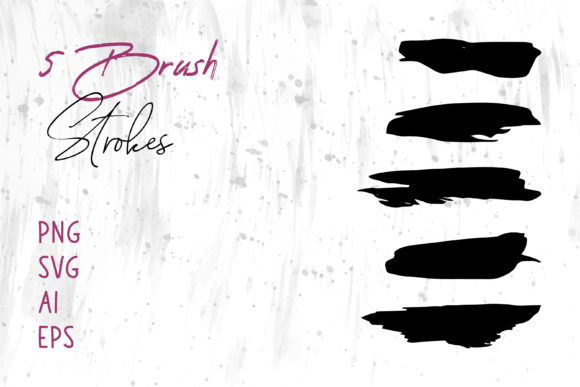
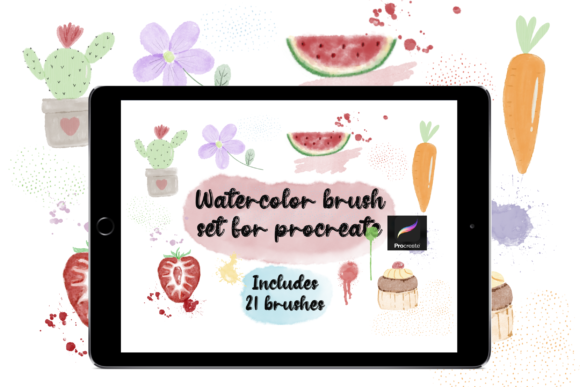
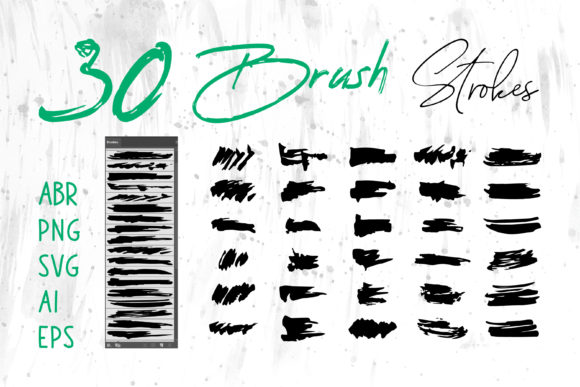
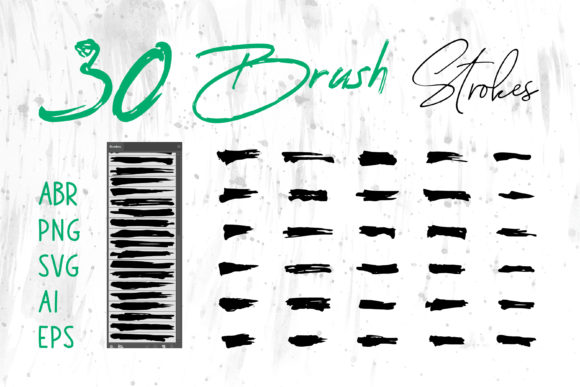
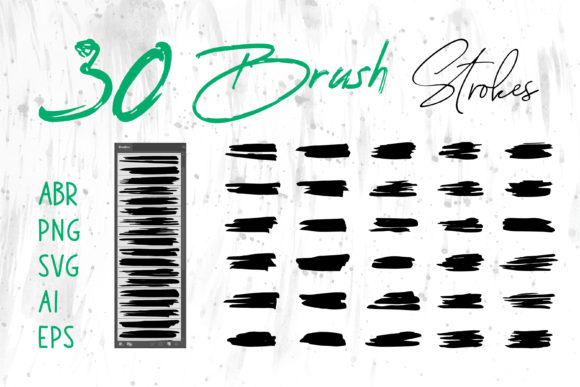
When you invest in a comprehensive brush collection, you are not just buying a single file type. A robust package typically includes .ABR files for Adobe Photoshop, specialized brushes for Procreate, and vector-based formats like .AI, .EPS, and .SVG. You might also receive high-resolution PNG images of individual brush strokes. The confusion often begins when users treat all these files as interchangeable without considering their specific functions.
For instance, a common mistake is attempting to use a raster-based .ABR file directly in Adobe Illustrator expecting it to behave like a vector tool. While Illustrator can utilize some raster brushes, they do not scale infinitely without losing quality, which defeats the purpose of using vector software for logo design or large-format printing. Conversely, trying to import complex vector .AI files into MS Word or PowerPoint without proper conversion can lead to bloated document sizes and rendering errors. Understanding that each format serves a distinct purpose is the first step toward efficiency.
The Trap of Ignoring Software Compatibility
One of the most frequent oversights occurs when creators purchase a bundle assuming it will work seamlessly in every program they own. You might be eager to design a book cover in InDesign or a social media banner in Canva, but not all brush formats are native to these platforms. If you try to force a incompatible file type, you risk wasting hours on troubleshooting rather than creating.
To avoid this, always check the file extensions before you begin your project. If your workflow relies heavily on Adobe Photoshop, prioritize the .ABR files for texture and depth. If you are working on a logo that needs to be scaled from a business card to a billboard, focus on the .SVG or .EPS vector files. For quick integration into presentations or documents like MS Word and MS Powerpoint, the included PNG brush strokes are your best friend. They act as ready-to-use graphics that maintain transparency and quality without requiring complex software setups.
Misconceptions About Quality and Application
Another area where users often go wrong is underestimating the importance of resolution and layer management. Just because a Watercolor Brush Set looks vibrant in a preview image doesn't mean it will perform well in your specific project settings. Beginners frequently apply heavy, textured ink strokes on low-resolution canvases, resulting in pixelated edges that ruin the professional look of the final piece. This is particularly detrimental for print projects like packaging or t-shirt designs, where clarity is paramount.
Furthermore, there is a tendency to overuse these assets. It is tempting to apply every unique stroke in an Ink Brush Set to make a design look "artistic," but this often leads to visual clutter. Effective design is about restraint. Using a subtle watercolor wash as a background element can enhance a website header, whereas splashing aggressive ink marks over a corporate logo might communicate chaos rather than creativity. The key is to match the brush style to the brand identity or the emotional tone you wish to convey.
Optimizing Workflow for Different Projects
Different projects demand different approaches to utilizing these digital tools. Consider the following scenarios where choosing the right format and technique makes a tangible difference:
- T-Shirt and Packaging Design: Always opt for vector formats (.AI, .EPS, .SVG) when possible. These ensure that your ink splatters or watercolor blooms remain crisp regardless of the print size. Raster images must be at least 300 DPI to avoid blurriness on fabric or boxes.
- Social Media Banners and Web Graphics: Here, file weight matters more than infinite scalability. Use optimized PNG brush strokes to keep page load times fast while maintaining visual appeal. A heavy, unoptimized brush texture can slow down a website, affecting user experience and SEO rankings.
- Digital Scrapbooks and Card Making: This is where the artistic freedom of ProCreate or Photoshop shines. Layering multiple .ABR strokes with varying opacity settings can create rich, tactile effects that mimic real paper and paint.
- Corporate Presentations: When using these graphics in MS Powerpoint or MS Word, simplicity is key. Insert high-quality PNGs as decorative elements to break up text, but ensure they don't distract from the core message.
Practical Steps to Avoid Common Pitfalls
To ensure you get the most out of your purchase, adopt a checklist mentality before diving into your design software. First, verify the license terms. While most personal and commercial uses are covered, some assets may have restrictions on resale or specific industries. Second, organize your files immediately upon download. Create folders for "Vectors," "Raster Brushes," and "Pre-made Strokes." This simple habit saves valuable time when you are under a deadline.
Additionally, take the time to test the brushes on a blank canvas before applying them to your main project. Adjust the flow, opacity, and size settings to see how the Watercolor Brush Set interacts with your chosen background color. Sometimes, a brush that looks perfect on white may disappear against a dark background, requiring a blend mode adjustment like "Screen" or "Overlay." Experimentation is the safest way to learn the nuances of your new tools without risking your actual client work.
Finally, remember that these tools are meant to enhance your creativity, not replace it. A Ink Brush Set provides the texture, but your composition, color theory, and layout decisions determine the success of the design. Whether you are a freelancer building a portfolio, a small business owner creating marketing materials, or an educator designing lesson plans, the goal is clear communication supported by aesthetic appeal. By respecting the technical limitations and leveraging the strengths of each file format, you transform a simple download into a powerful asset for your creative toolkit.
In conclusion, the journey from downloading a brush pack to creating professional-grade art involves more than just clicking "install." It requires a thoughtful approach to file formats, an understanding of your specific software environment, and a disciplined eye for design balance. By avoiding the traps of incompatibility and over-decoration, and by selecting the right tools for the right job—be it a logo, a book cover, or a digital scrapbook—you ensure that your final output is polished, effective, and truly representative of your vision.